So I got all ambitious and bought LOADS of cream cheese a couple weeks ago thinking I’d attempt a cheesecake. And it sits there. And it sits there. And it sits there. I’m getting desperate. I need to use this stuff but I just don’t have time to make a cheesecake. Gak! After endless searching I stumble on this adorable little confection. It’s got sugar and spice and its handheld (a theme with me) and …. cream cheese! Yes. The process was still a bit time consuming, but man are these little suckers GOOD. I have had a hard time staying away from them they are so freaking good, and I don’t have a sweet tooth. No doubt they will tickle yours!
Ingredients
Filling
- 1/2 pkg (4 oz) light cream cheese
- 1/4 cup sugar
- 1/2 tsp vanilla
Crust
- 1 pkg refrigerated pie crusts
- 2 tbsp butter, melted
- 1/4 cup sugar
- 1 tsp cinnamon
- 2 inch round biscuit cutter, or small juice glass
Preparation
- Set the cream cheese out to begin softening.
- Sprinkle flour on your board or cutting surface. Roll out crusts and cut out as many 2 inch rounds as you can. I had to combine and re-roll a few times. You should get about 24 rounds. Pop them in the fridge to keep cool.
- Once the rounds are done and the cheese has softened, combine the filling ingredients and blend with a hand blender until smooth and soft. Use a rubber spatula to transfer to a sandwich baggie. Set aside.
- Pre-heat oven to 350.
- Line two cookie sheets with parchment paper and lay out 12 crust rounds.
- Snip the end off your filling baggie and pipe a small amount of filling onto each round.
- Top the filling with the remaining 12 crust rounds. Using a fork, press along the edges of each pie to seal the crust layers together.
- Bake at 350 degrees for 12-14 minutes.
- In the meantime,
- combine sugar and cinnamon in a shallow bowl. Set aside.
- melt your butter in a bowl. Set aside.
When ready, let the pies cool just slightly.
- Coat the tops of your pies.
- Either dunk and cover your pies in the sugar mixture, or sprinkle over the tops. It just depends on how sweet you want them to be.
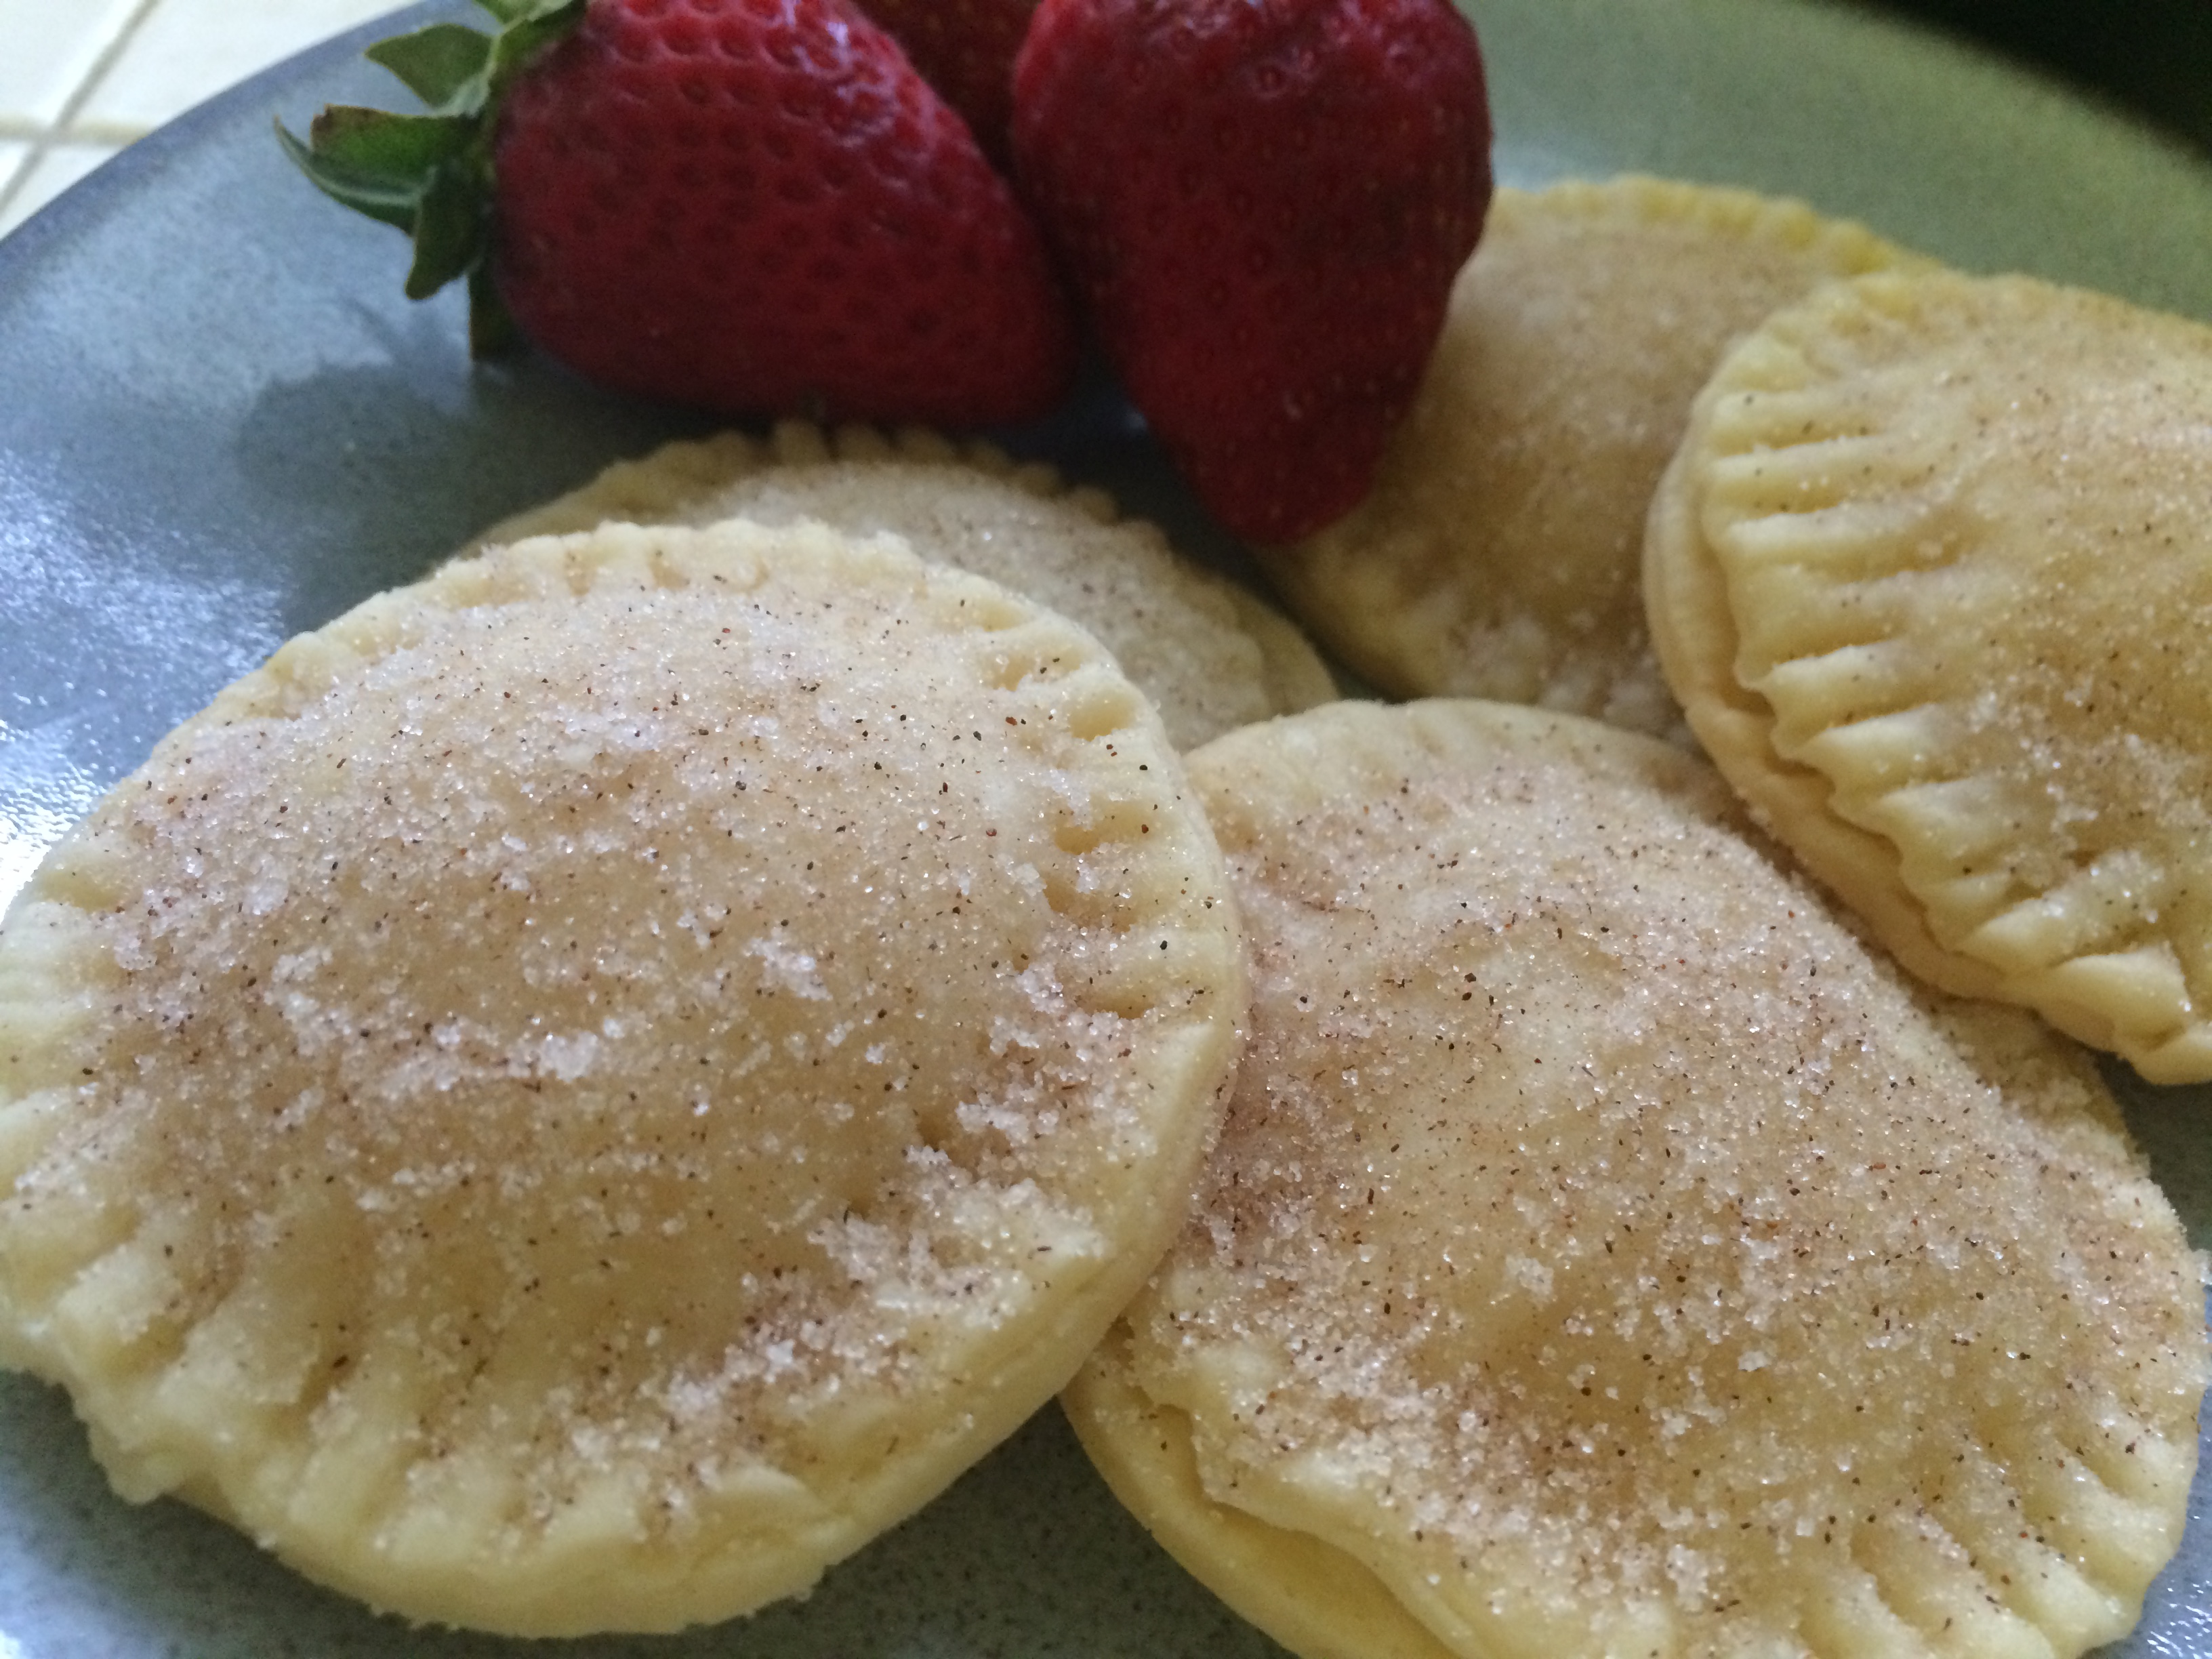
Depending on when you serve them, they go great with fresh berries and a vanilla latte. Or you can just guilty pluck one out of the fridge every time you go in the kitchen. I hear tell the calories don’t count if no one sees you eat it.
Nom On,
~Crunchy
Shout out: Although my version tastes more like a mildly sweet tart, I did want to give credit to the clever baker who created this variation of the traditional sopapilla: http://www.crazyforcrust.com/2013/04/sopapilla-cheesecake-hand-pies/