I found myself pondering this year how to construct a well-balanced cookie tin. I had a lot of people to give gifts too that I don’t see often so I felt a well-designed cookie tin was a safe bet. But how to make it balanced with the right flavors of Yule? As I prepared my list, I realized that what I was missing from my usual rotation was acidity. I needed a cookie with the bright, sweet-tart notes of a winter berry. What’s more winter berry than cranberry? After much exploration, this little 2-bite tartlet was born. It’s no sugar plum, but I watched a video on how to make those and that was insane.
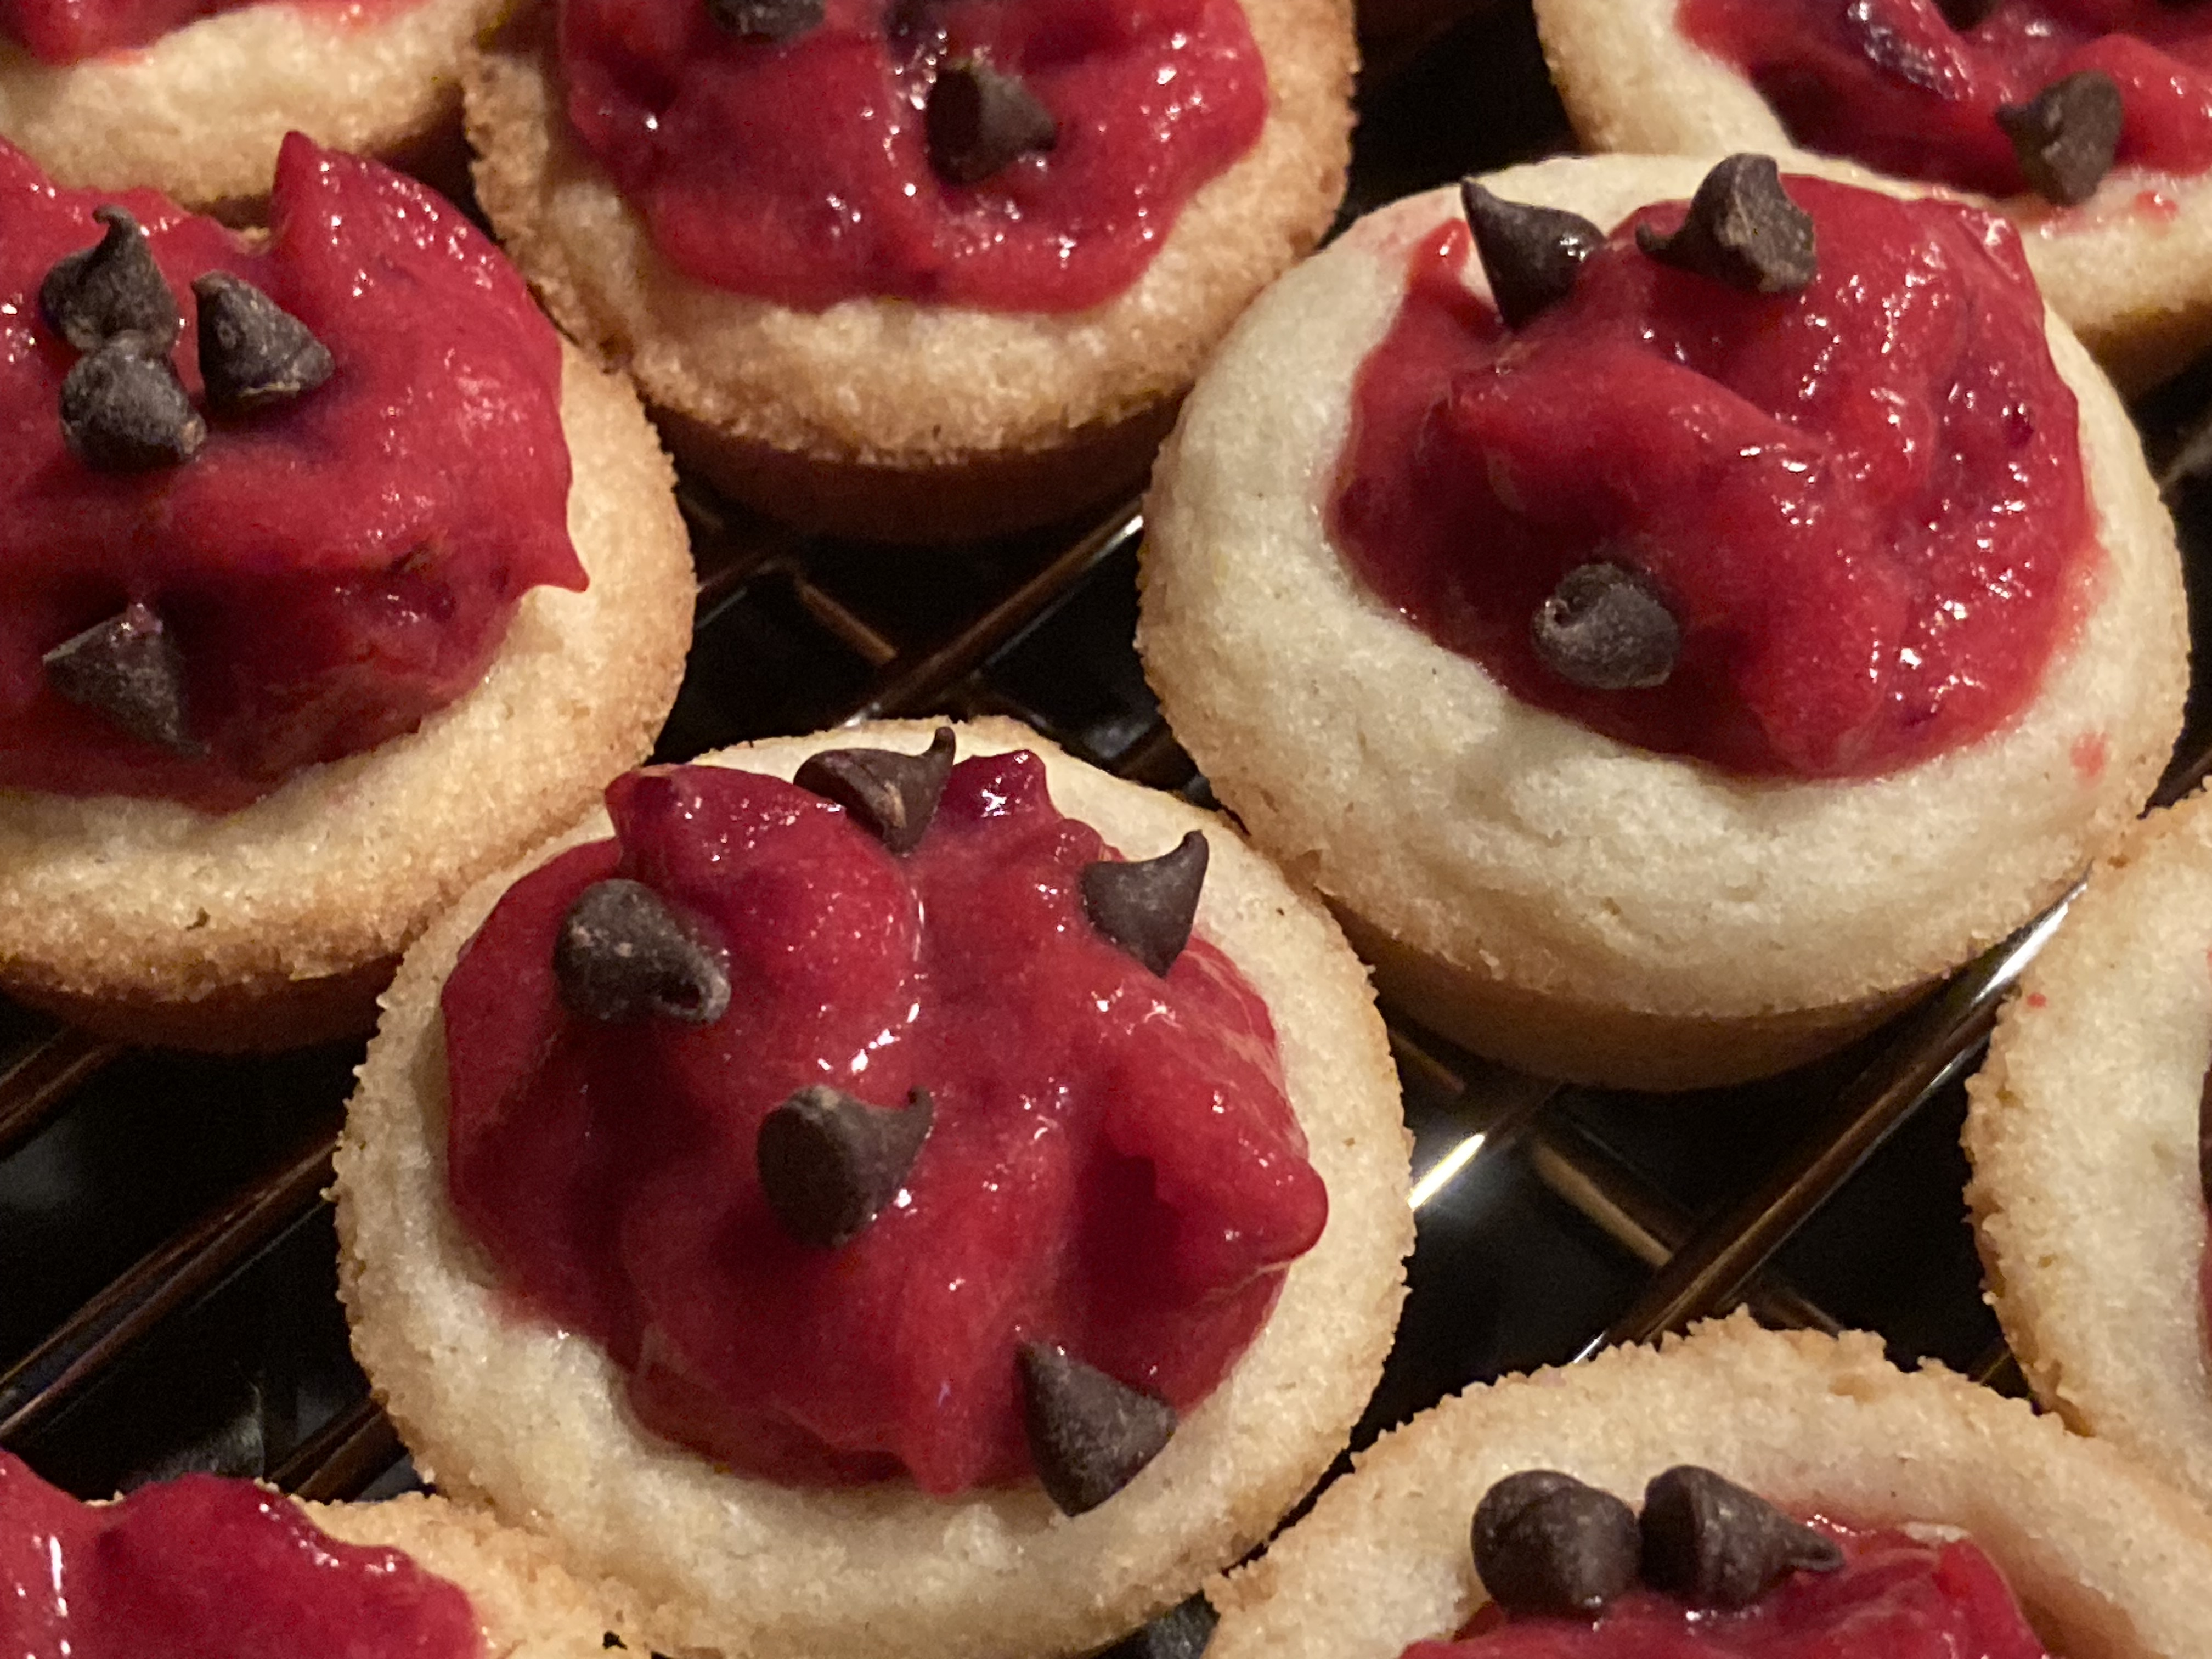
Chocolate Cranberry Curd Tartlets
Special Equipment
- 2-24 cup mini-muffin tins
- #40 disher (also known as a cookie scoop)
- Baker’s straight or offset spatula
- Plastic ziplock or piping bag
Ingredients
For the cranberry curd filling
- 1 12-oz bag fresh cranberries
- Note: If you can’t find fresh, sub for 2 cups of frozen
- 1/2 cup orange juice
- 2 eggs
- 3/4 cup sugar
- 1/2 tsp vanilla extract
- 4 tbsp unsalted butter, softened
For the tart shells
- Sugar Cookie Mix
- 1 stick unsalted butter, softened
- 1 egg
For the garnish
- Miniature semi-sweet chocolate chips
Preparation
For the Cranberry Curd
- To a medium sauce pan, add the cranberries and orange juice.
- Over medium heat bring to a boil until the cranberries start to pop.
- While the cranberries are cooking, combine the eggs, sugar, and vanilla in a separate bowl and whisk until combined. Set aside.
- Using a rubber spatula, crush the cranberries and continue stirring and breaking the berries down until you get a paste.
- *Note: Some curd recipes call for straining, but I personally like my curd a little bit chunky.
- Turn off the heat and let the cranberries cool for about 5 minutes.
- Add the custard mixture to the cranberries and whisk until combined.
- Return the pan to a medium heat and whisk until the sauce thickens.
- Once the sauce has thickened, turn off the heat and gradually add the softened butter while whisking until the butter has fully melted and the mixture becomes a curd.
- Place the contents in a sealed 1-gallon plastic bag and refrigerate for one hour.
For the Tartlets
- Pre-heat oven to 375 degrees.
- Spray Mini-Muffin Pans with non-stick spray and set aside.
- In a large bowl, mix sugar cookie mix, the egg, and softened butter with a rubber spatular until a soft dough forms.
- Using a #40 disher, scoop and form 1.25 inch dough balls. Place each ball into a mini-muffin cup.
- With the base of your spatular, press an indentation into each dough ball.
- Bake for 8-10 minutes.
- Remove tartlets from the oven and repeat the indentations into the center with your spoon or spatula.
- Allow tartlets to cool inside the tin for 20 minutes to firm their shape.
- Using a baker’s straight or off-set spatula, loosen the tartlets from the tin and transfer to a cooling rake.
- Allow tartlet shells to cool for at least 30 minutes.
For assembly
- Remove cooled cranberry curd and snip the edge of the bottom of the bag to create a space to pipe out the curd.
- *Note: Unfamiliar with the technique of piping? Watch this brief video first before you start assembly: https://youtu.be/4t4iDLs10NQ?si=u8_Y74qFhD9ubLKv
- Pipe the curd into each shell so that it creates a little over flow, but try not to smear the edges of the shells with curd. If you do, use a small spoon to clean up the edges.
- Garnish each tartlet with 3-4 mini chocolate chips.
- Serve immediately or refrigerate in airtight containers.
This recipe will make approximately 36 cookies. Given the slightly more advanced techniques and call for special equipment, this tartlet may seem daunting. I wrote it up for the most consitent results, but the only equipment you can’t do without is a mini-muffin tin. You can cool your curd in a bowl in the fridge and use a small spoon to full the tartlets, you can loosen the shells with a butter knife, and you can scoop and make the dough balls with your own two hands. I hope you won’t be afraid to try it, the results will be delicious and the lucky recipients will be impressed by your efforts.
Nom On,
~Crunchy